Effect Rack
The Effect Rack gives you full control over every effect in Cubasis.
 Read: When enabled, all automation data on this effect is read and applied during playback.
 Write: Activate this button to record automation data live during playback / recording.
 Automation: Tap this button to open the Automation Editor with the current effect parameter selected.
 On / Off: Toggles whether the current effect is active
  Side-chaining: This button is visible for effects that have a side-chaining audio input. It allows you to toggle side-chaining and select an input track.
 MIDI input: This button is visible for effects that have a MIDI input port. It allows you to select a MIDI track as input. Typical use cases are Autotune and Vocoder effects, such as Waves Tune RT.
Many linear effects feature a Mix fader. This parameter controls the percentage of processed sound that is mixed to the original signal.
Note: Non-linear effects are dependent on dynamic parameters, as opposed to linear effects. The compressor is a prime example of non-linear signal processing, as the amount of gain reduction depends on the current volume level.Audio Units 

Third party apps with Audio Unit functionality can act as instrument or effect plug-ins that
integrate directly into the Cubasis workflow. Find more information here.
Inter-App Audio
Inter-App Audio is a universal routing system for iOS, allowing you to route audio, MIDI and effects between
Cubasis (host) and compatible node apps in realtime. Find more information here.
 Effect presets
Press the Presets button to the top left of the rack and a list of presets will open below. Tap a preset to load it and apply it to your effect. Cubasis features factory presets for both internal effects and FX packs.
 Save: Save the current parameter setting as preset.
 Share: Share a preset via apps like Dropbox, Google Drive, Mail, iCloud, and more.
 Delete: Delete the selected preset.
- Rename: Select a preset and tap the e icon next to it to rename it.
Channel Strip
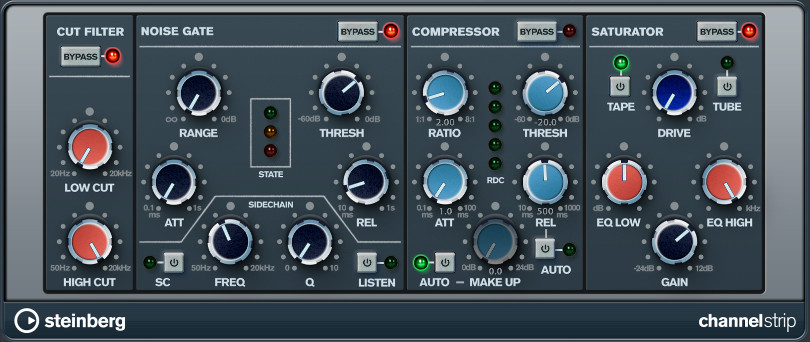
The channel strip module is an effect suite hard-wired into every channel and contains the following effects:
- Cut Filter: A basic low and high cut filter covering the entire audible frequency spectrum.
- Noise Gate: Offers the same functionality as the Noise Gate insert effect with the additional option to use a sidechain filter which uses a filtered version of the input signal as reference for the noise gate to work with.
- Hit SC to activate the internal sidechain filter. If external side-chaining is enabled for the Channel Strip (via the button in the effect rack’s tool bar), both the Noise Gate and the Compressor will use the side-chain input signal from the other track.
- Use the Freq and Q knobs to shape the reference signal.
- Toggle Listen to only hear the filtered reference signal.
- Compressor: Works like the Compressor insert effect with the Make Up parameter allowing to raise the overall output signal after compression. This parameter as well as the compressor's Release can be set to automatically adjust during playback. It also supports side-chaining.
- Saturator: Can be used to add character and warmth or slight distortion to your sound, emulating analogue reel-to-reel or tube processing techniques.
- Choose between Tape or Tube model emulation.
- Adjust the distortion factor with the Drive knob.
- Set the effect's frequency range with the high and low EQ knobs.
- The Gain knob controls the output level of the effect.
Master Strip

The Master Strip Plug-in Suite allows you to make individual tracks and complete projects sound excellent in an intuitive and creative way right within Cubasis. Expand or reduce the stereo width of your audio with the Stereo Imager, monitor and compress specific frequency ranges with the included Multiband Compressor, then use the Loudness Maximizer to boost the overall level of your final mix to perfection.
- Multiband Compressor
Multiband Compressor allows a signal to be split into three frequency bands. You can specify the level, bandwidth, and compressor characteristics for each band.- On/Off:Activates/Deactivates Multiband Compressor and its corresponding sections.
- Graphical Display:To define the frequency range of the different frequency bands, use the handles at the top of the display. To attenuate or boost the gain of the frequency bands by ±15 dB after compression, use the handles at the top of each frequency band.
- Threshold: Signal levels above the set threshold (-60 to 0 dB) trigger the compressor.
- Ratio:Sets the amount of gain reduction applied to signal above the set threshold.
- Output :Sets the output gain.
The Imager module allows you to expand or reduce the stereo width of your audio in up to three bands. This way you can independently adjust the stereo image in defined frequency domains.
- On/Off:Activates/Deactivates Stereo Imager and its corresponding sections.
- Graphical Display:To define the frequency range of the different frequency bands, use the handles at the top of the display. To attenuate or boost the gain of the frequency bands by ±15 dB after compression, use the handles at the top of each frequency band.
Loudness Maximizer raises the loudness of audio material without the risk of clipping. The plug-in provides two modes, Classic and Modern, that offer different algorithms and parameters.
- On/Off:Activates/Deactivates Loudness Maximizer.
- Classic:Classic mode provides the classic algorithms which is suited for all styles of music.
- Modern:In Modern mode, the algorithm allows for more loudness than in Classic mode. This mode is particularly suited for contemporary styles of music.
- Optimize:Determines the loudness of the signal.
- Soft Clip:If this button is activated, Maximizer starts limiting or clipping the signal softly. At the same time, harmonics are generated, adding a warm, tube-like characteristic to the audio material.
- Mix:Sets the level balance between the dry signal and the wet signal.
- Output:Sets the maximum output level.
RoomWorks SE
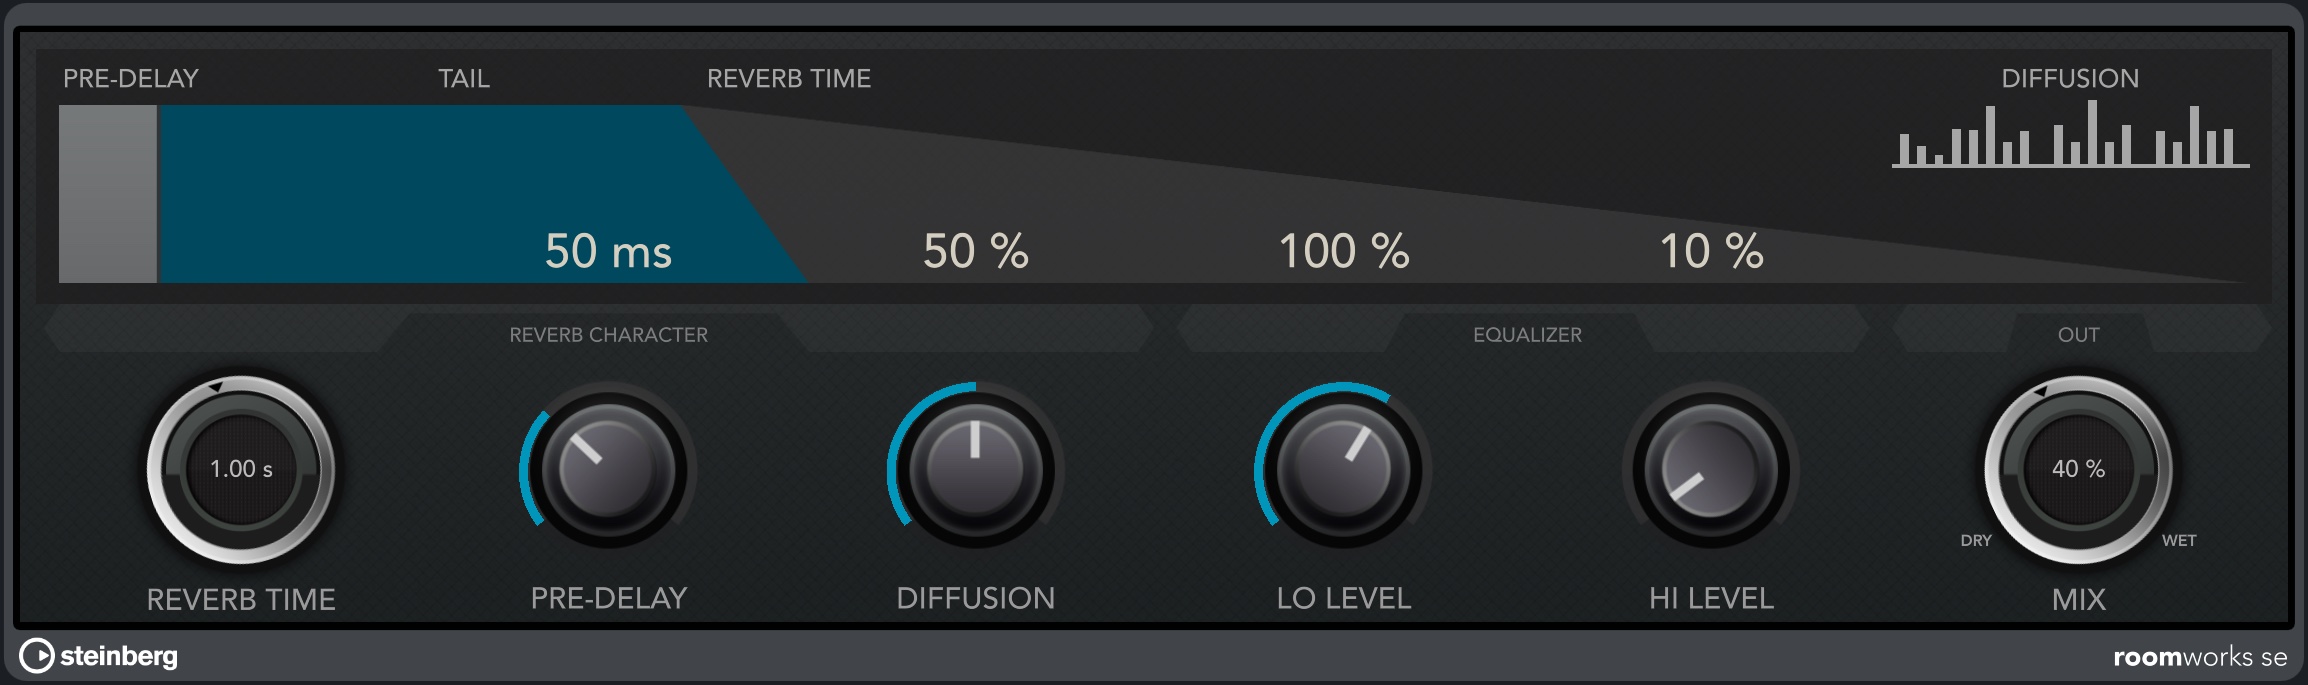
Note: The RoomWorks SE plugin is available to all users registered at MySteinberg.
RoomWorks is a high quality digital reverb simulation plugin. It has the following parameters:
- Predelay: The amount of time before the onset of reverb. This allows you to simulate larger spaces by increasing the time it takes for first reflections to reach the listener.
- Reverb Time: Reverb time in seconds in which the effect is audible.
- Diffusion: This affects the character of the reverb tail. Higher diffusion is smoother while less diffusion can be clearer. This emulates changing the types of surfaces in a room (brick vs. carpet for instance).
- EQ: Lo / Hi Level:This affects the decay time of low / high frequencies. Normal room reverb decays quicker in the high and low frequency range than in the midrange. Lowering the level percentage will cause low / high frequencies to decay quicker. Values above 100% will cause low / high frequencies to decay longer than the midrange.
- Mix: Determines the blend of dry (unprocessed) signal to wet (processed) signal.
Reverb
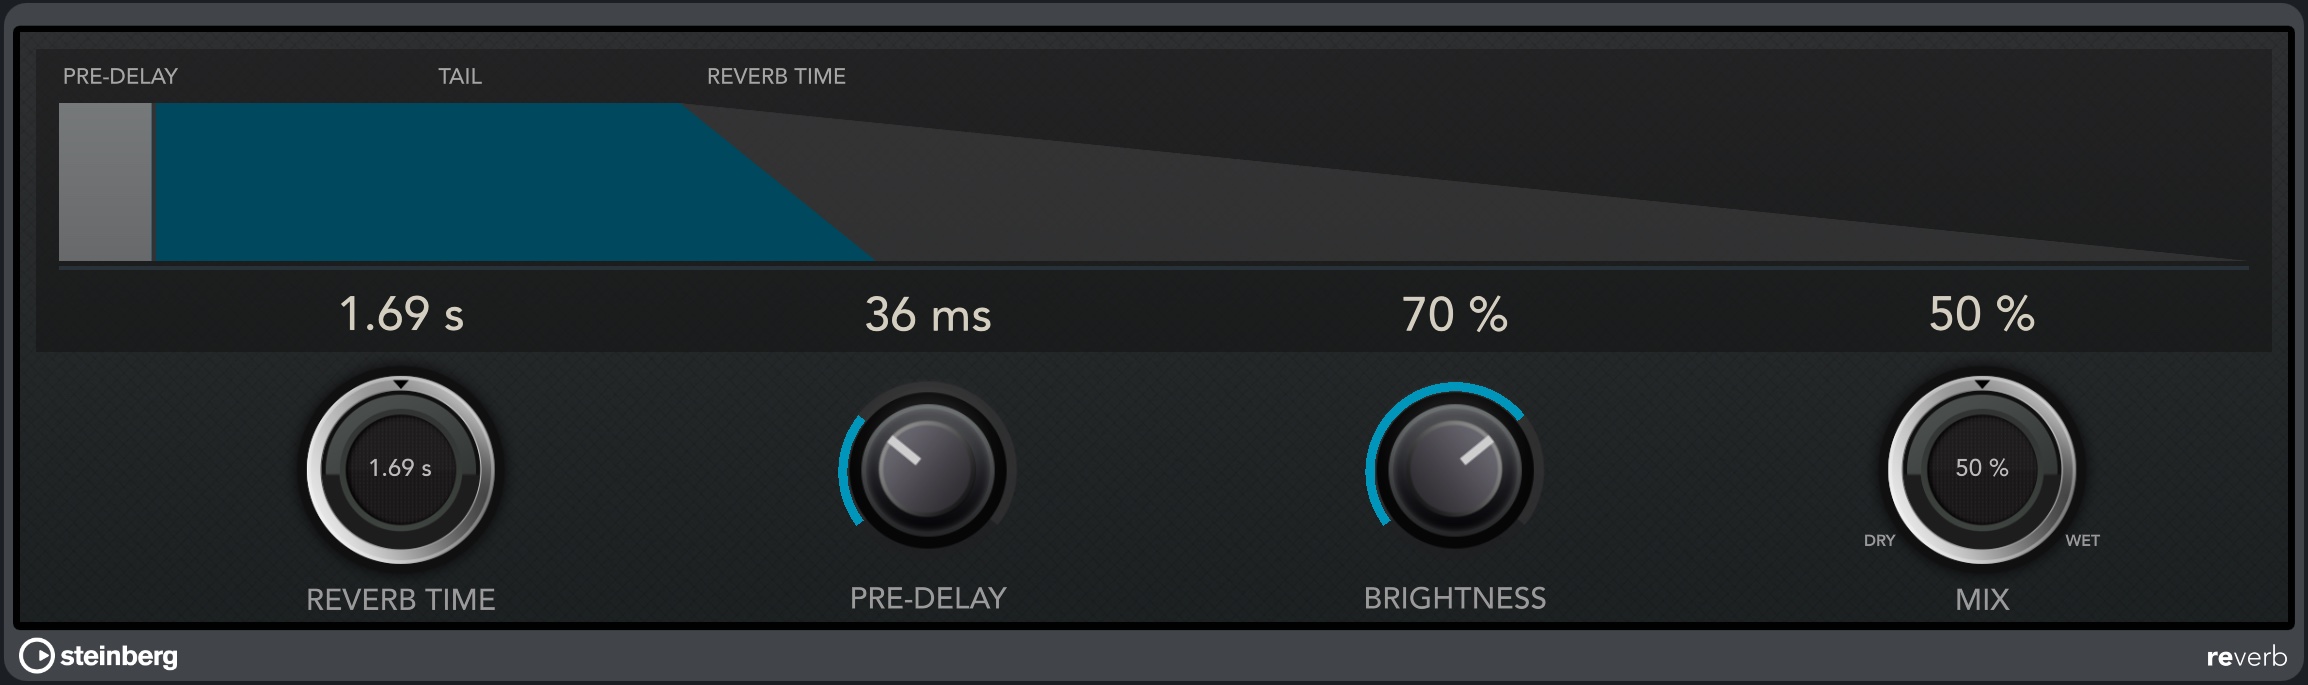
Reverb simulates a certain type of space (e.g. room, hall) surrounding your sound and reflecting it.
- Predelay: Period of time before the effect sets in. In larger halls, it often takes a fraction of a second before the reflected sound is audible.
- Time: Amount of seconds in which the reverb is audible. The more time, the larger the emulated space seems.
- Brightness: The brighter your reverb, the more higher frequencies are emphasized and vice versa. This is useful for setting the right atmosphere.
Delay
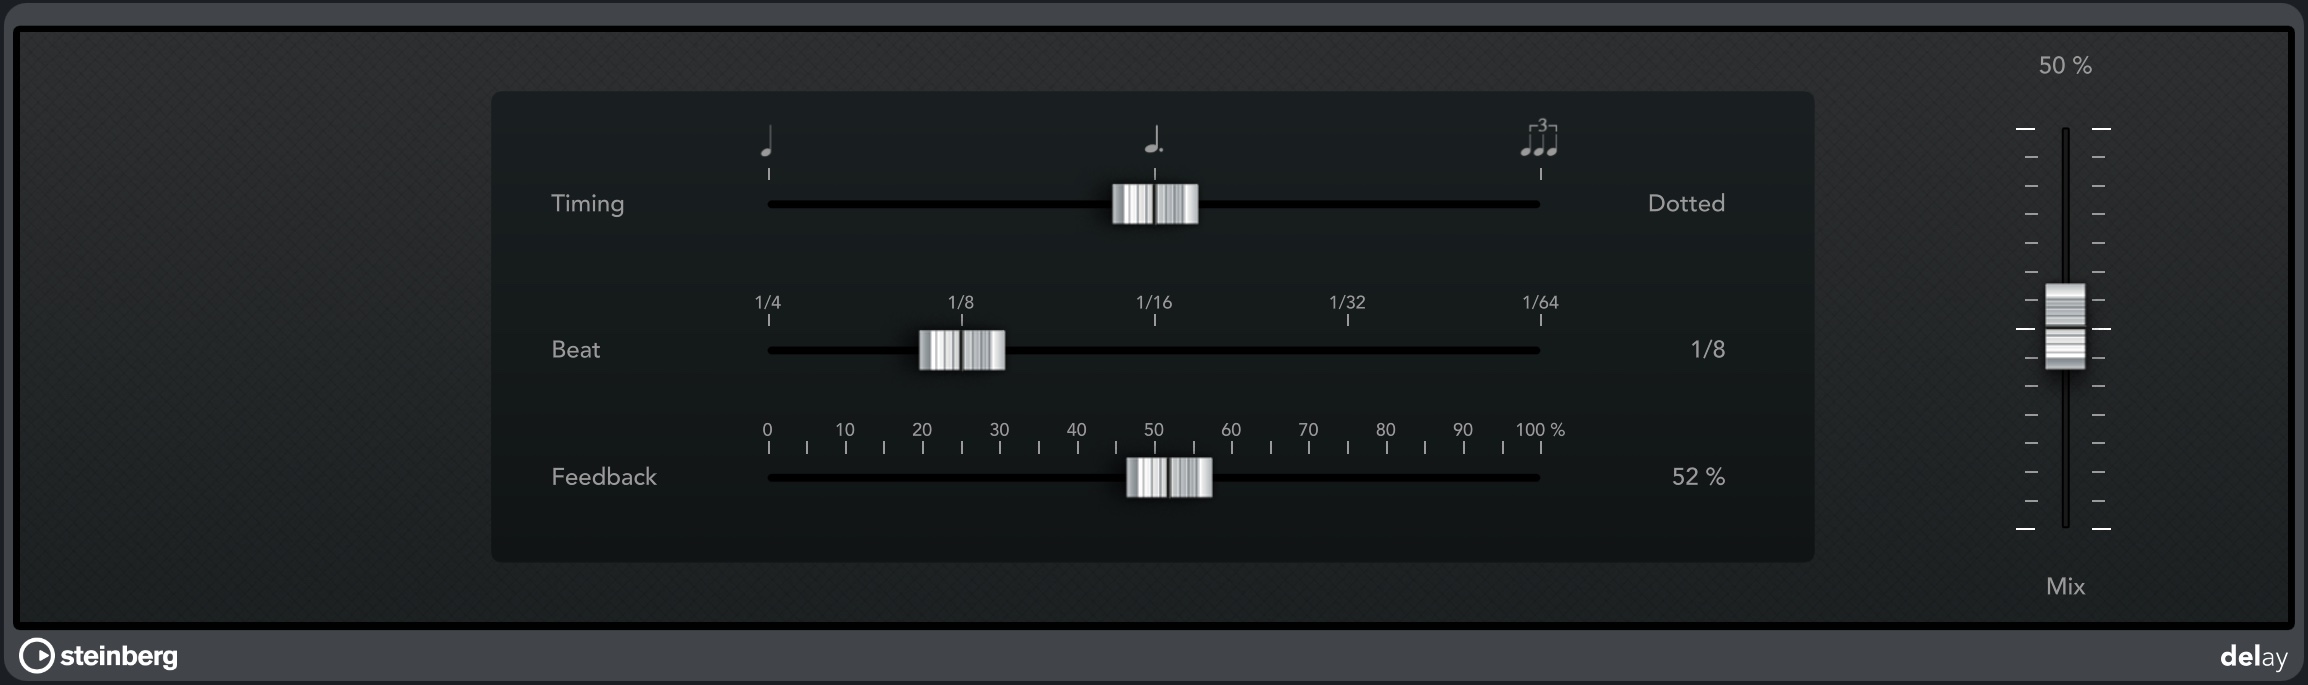
Delay repeats your sound, creating an echo effect.
- Time: Normal leaves the beat unchanged, whereas Dotted extends it by 50%; Triplet changes the 1/4 meter to 1/3.
- Beat: Sets the interval of the delay, which also depends on the song tempo.
- Feedback: Higher feedback increases the number of delays and therefore the duration of the effect.
StudioEQ
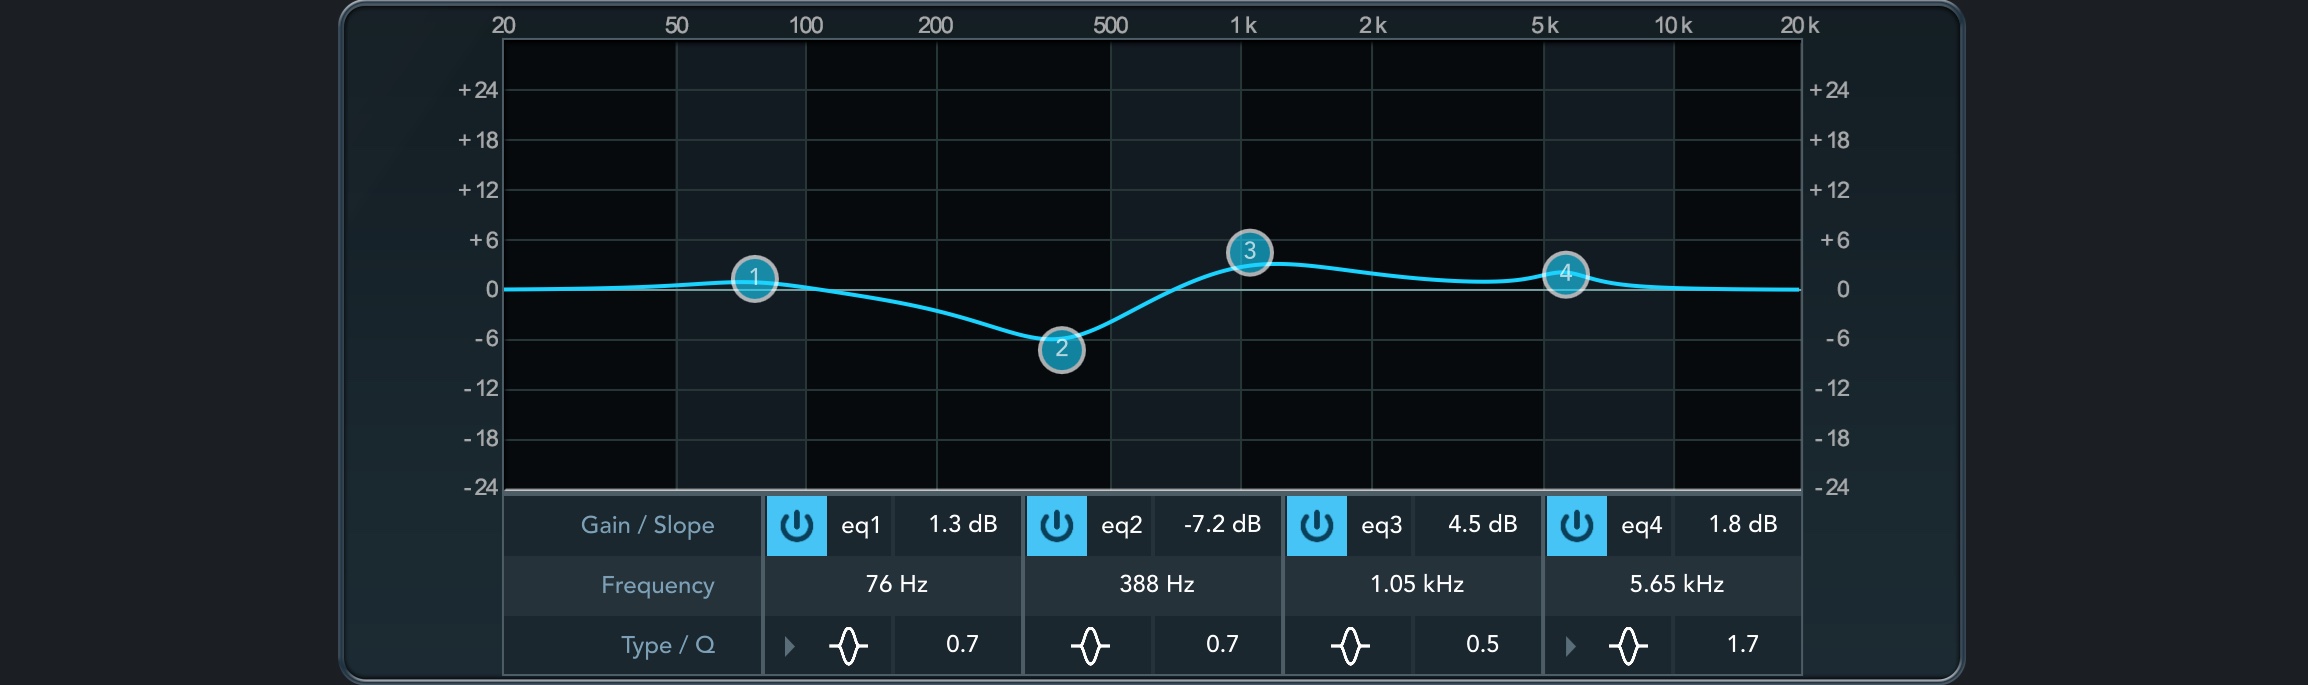
The 4-band equalizer (EQ) controls the strength of all audible frequencies within your sound, allowing you to cut or boost various frequencies. For this purpose, 4 bands are provided, displayed as number handles (1-4) on the graph and their properties specified in the columns labeled eq 1-4 below.
- On / Off: Provides the option to turn off unneeded bands.
- Gain / Slope: (y-axis) Volume alteration of your band's frequency. Values above 0 dB result in a boost, negative values in a cut.
- Frequency: (x-axis) Determines the band's center frequency.
- Type: EQ bands 1 and 4 can act as parametric, shelving, or high/low-cut filters, while EQ bands 2 and 3 are always parametric filters.
- Q: The Q-Factor controls the bandwidth. Reduce it for filtering accross broader frequency spectrums, or turn it up for more precise control.
- Double tap a number handle to reset its corresponding band.
- Pinch on a number handle to adjust its Q-Factor.
ShelfEQ

The Shelf-Equalizer simply lets you control the strength of low (Bass) and high (Treble) frequencies within your sound.
Compressor
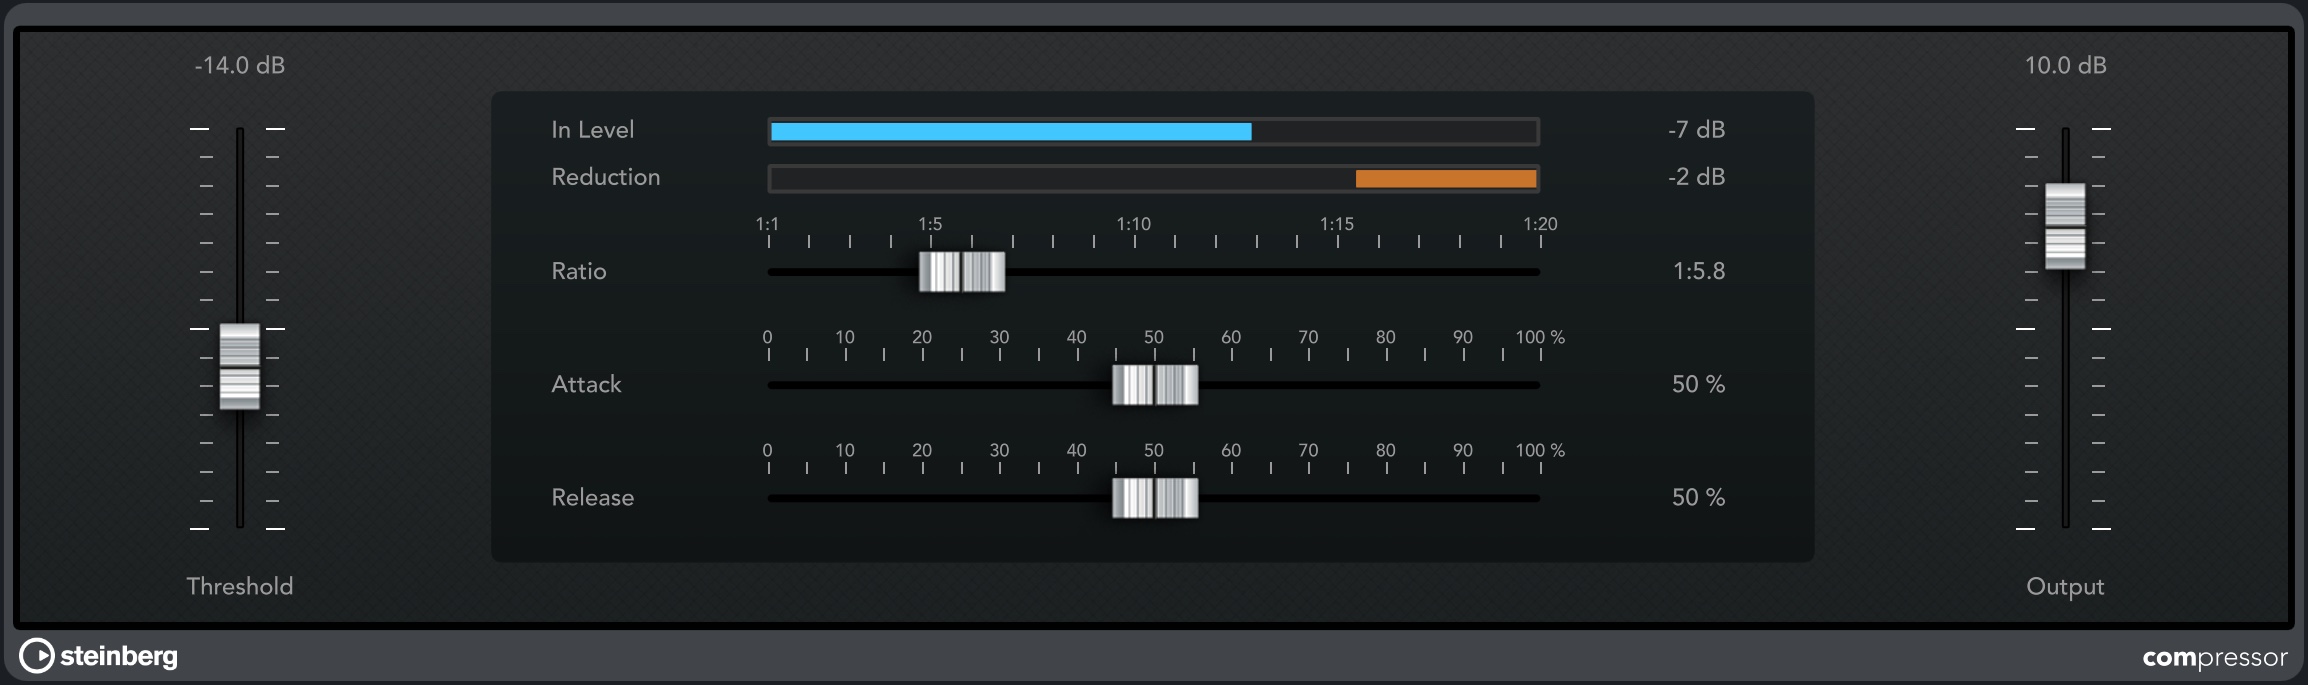
The Compressor is useful for mastering tracks as well as your whole song. While it lowers peaks in your wave material that might otherwise cause clipping, it allows you to raise the general gain of your song, therefore adding more power to the final product.
- Threshold: If your sound is louder than the threshold level, it gets reduced.
- Ratio: Determines the amount of sound reduction, e.g. if your ratio is 1:6 and your sound reaches 6dB above the threshold limit, it will be reduced by 1dB.
- Attack / Release: Specifies the amount of time it takes to reach full compression / to get back to 0% compression afterwards.
- Output: Determines the volume level of your processed sound.
Limiter
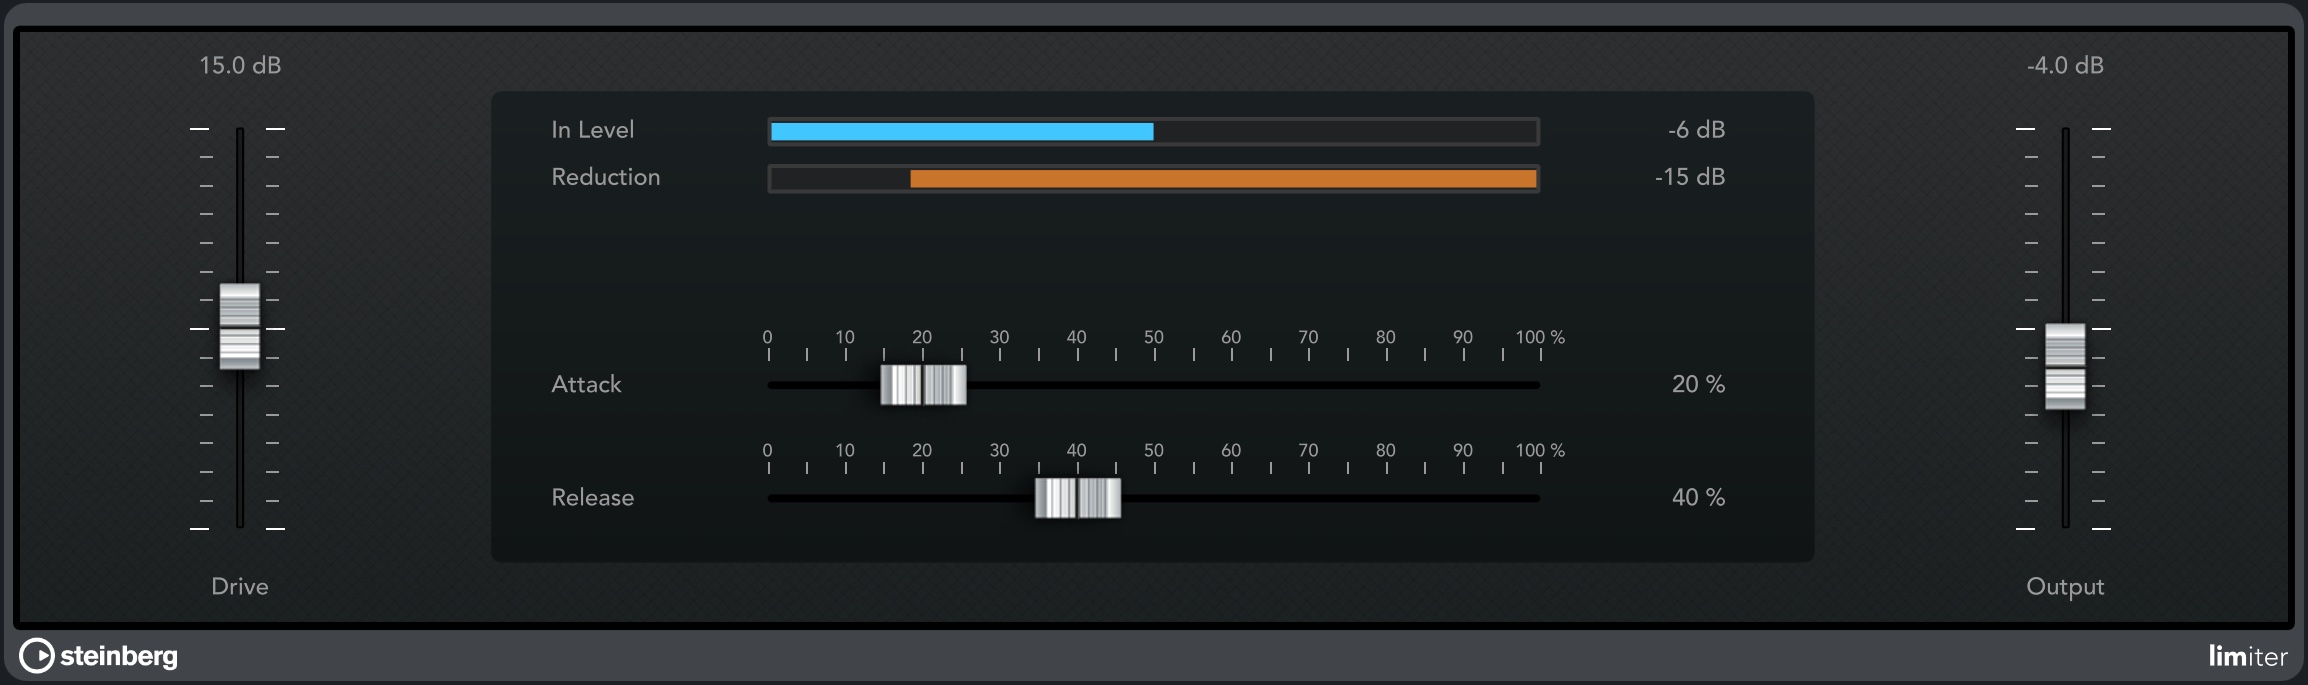
The Limiter lets you fine-tune your sound's gain (volume).
- Drive: Multiplies your audio signal before entering the limiter.
- Attack / Release: Specifies the amount of time it takes to reach the highest limitation level and how long the effect lasts afterwards.
- Output: See compressor.
Brickwall Limiter
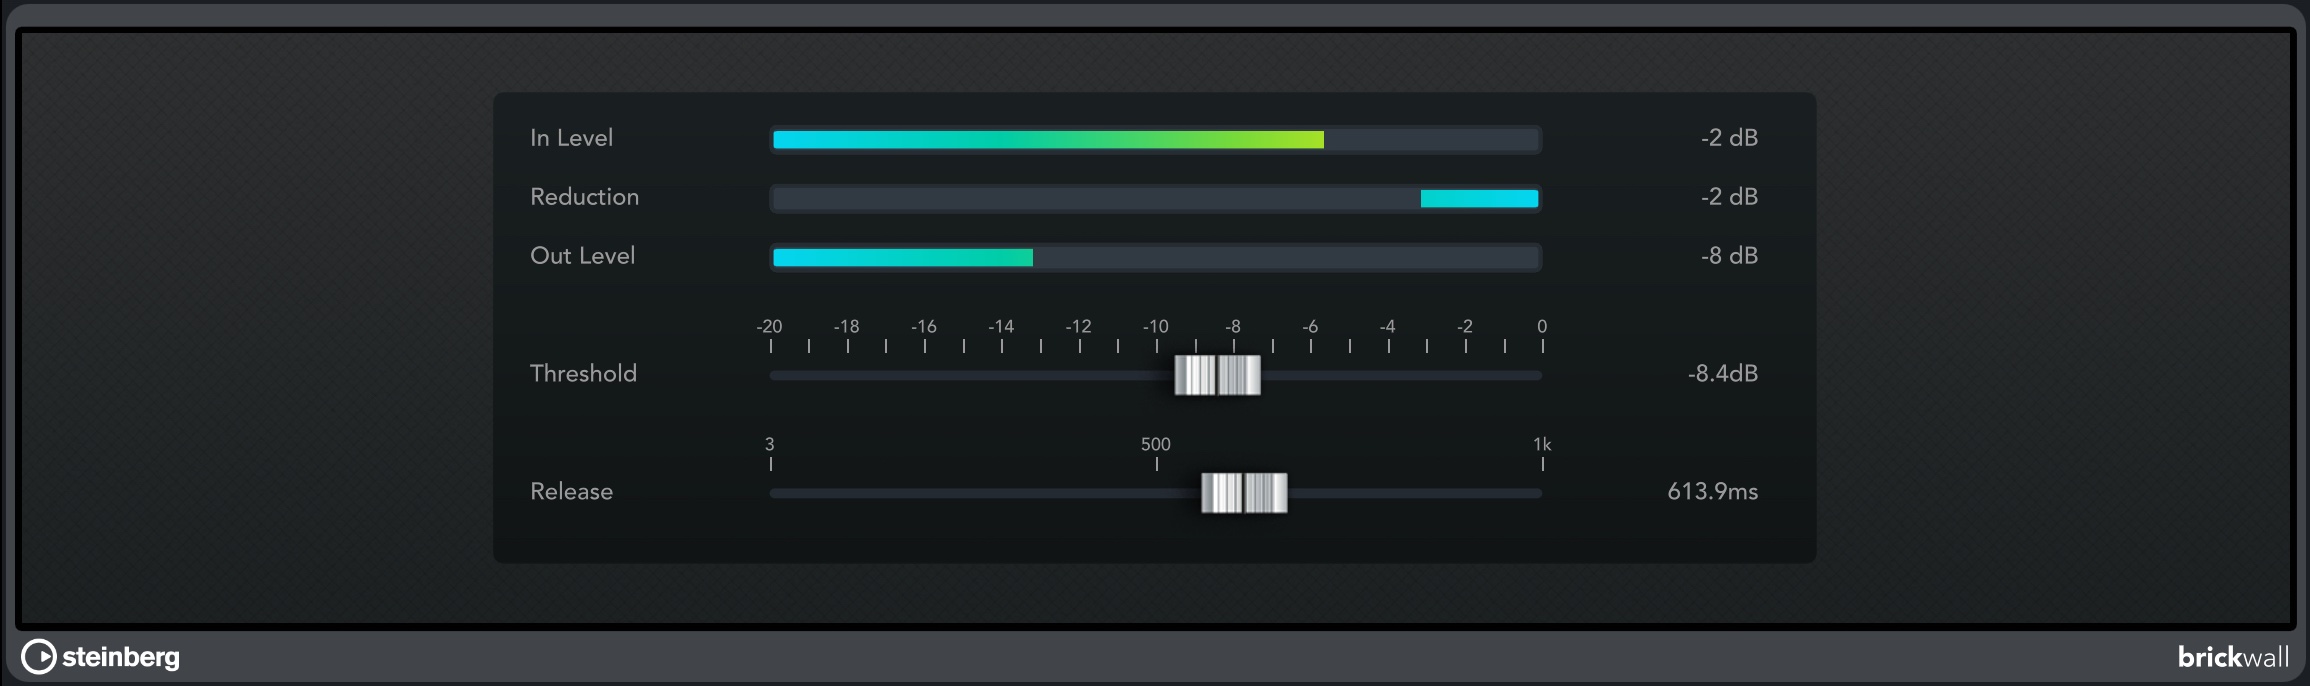
The Brickwall Limiter ensures that audio signals (even short ones) always stay below a set limit without creating audible artefacts.
- Threshold: Sets the lowest input level in dB where reduction kicks in. If the input signal exceeds the threshold, the gain is reduced.
- Release: Specifies the duration the reduction lasts after the input signal falls below the threshold.
- Gain Reduction: If this level indicates constant limiting, try raising the threshold or lowering the overall gain level of the input signal, as the Brickwall Limiter is primarily designed for cutting occasional signal peaks.
 symbol on the Stereo Out channel.
Noise Gate
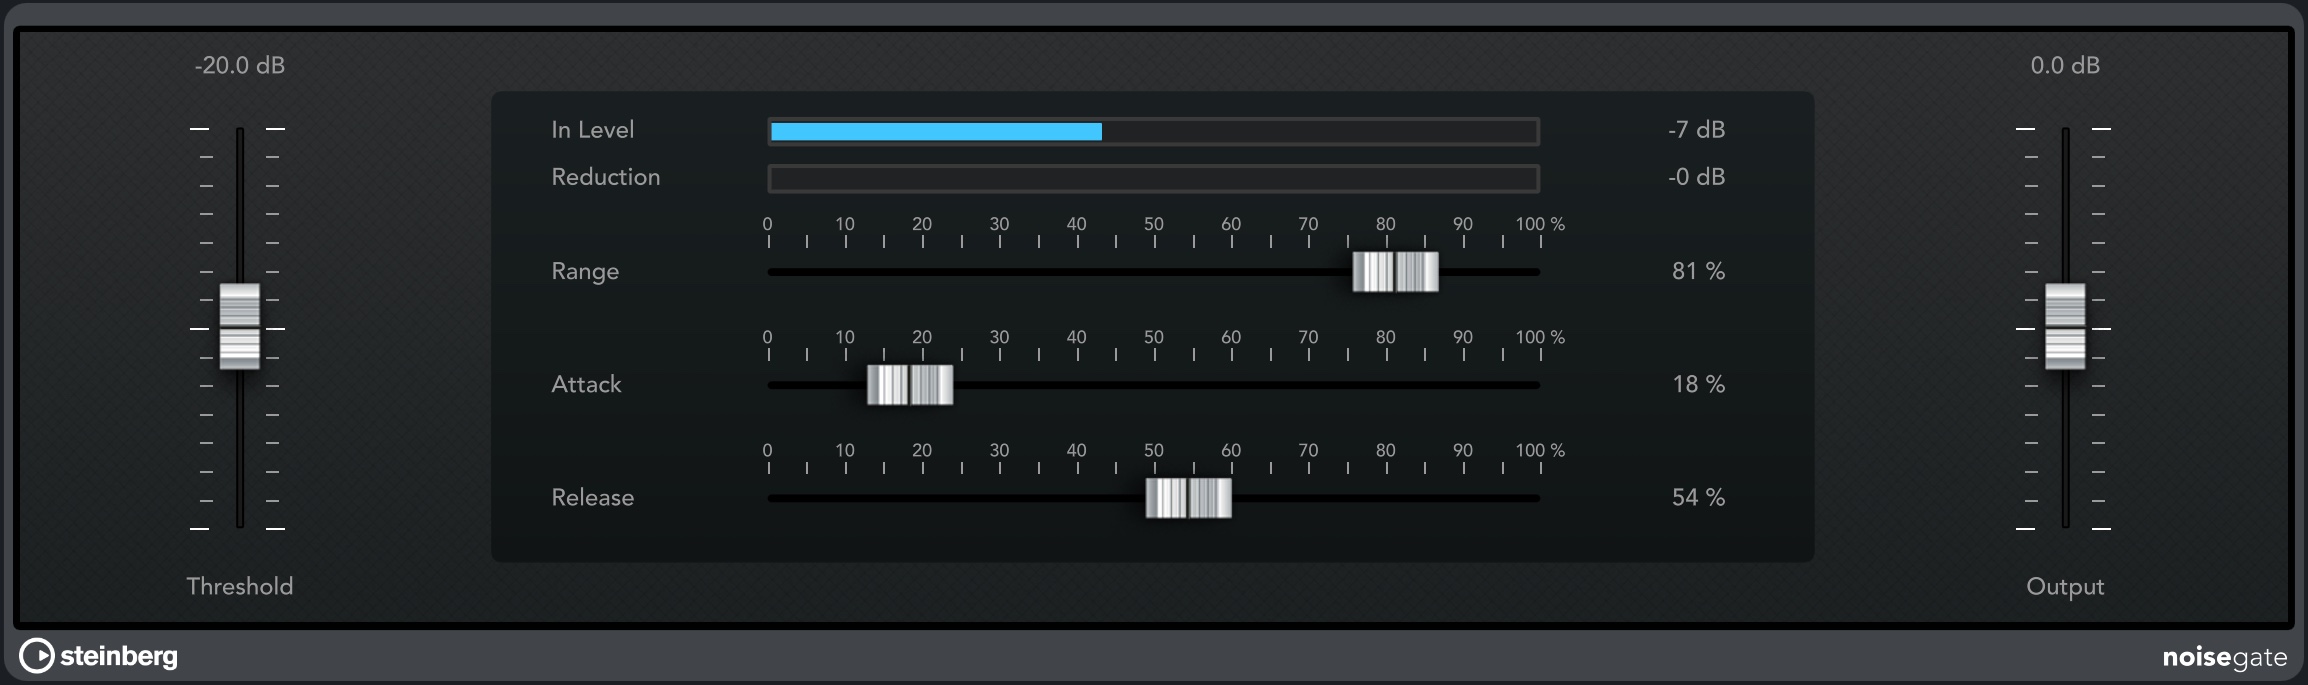
The Noise Gate filters out audio signals below certain volume levels, reducing unwanted noise artefacts in the process.
- Threshold: If your sound is quieter than the threshold level, it gets reduced.
- Range: Determines the amount of sound reduction by the gate. For example, set the range to 50% to half the gain of all signals below the gate threshold.
- Attack / Release: Specifies the amount of time it takes to reach full gating / to get back to 0% gating afterwards.
- Output: See compressor.
Spin FX
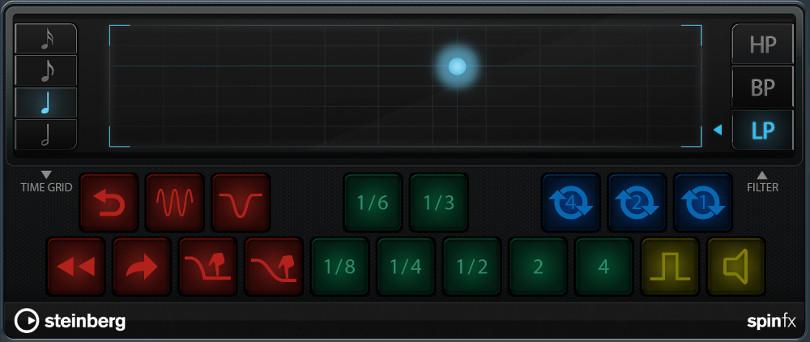
The Spin FX unit offers a wide variety of DJ-like style breaks, tape stops, stutters and filter effects that can be triggered live and recorded via the Automation Write mode.
- Time Grid: Sets the measurement that all effects will be relative to. Selecting the sixteenth note for instance will make every effect play four times as fast / short as the quarter note.
- Filter: Works like the Filter insert effect. See below for more information.
- DJ (Red): Includes a Backspin, two Scratch and four Tape Stop / Start effects.
- Stutter / Slur (Green): Generates a slice of the current audio stream as long as the selected measurement relative to the time grid and repeats it as long as the button is pressed. Pressing 2 or 4 will stretch the audio by said factors.
- Cycle (Blue): Repeats the next 1 / 2 / 4 beats.
- Staccatto / Mute (Yellow): Either toggles the audio on / off every beat or mutes it entirely.
Filter

Using the Filter, you can cut off either high or low frequencies of your sound and control its resonance.
- The cursor controls cutoff and resonance at the same time. The higher vertically, the higher the resonance. When moved to the right, the cutoff gets higher.
- HP (Highpass): Only lower frequencies are dampened. The sound remains unchanged if the cursor is positioned at the far left.
- BP (Bandpass): Enables low and high cutting, the sound remaining unchanged if the cursor is in the middle of the pad.
- LP (Lowpass): The opposite of Highpass; high frequencies are dampened. Move the cursor to the far right for the original sound.
Chorus
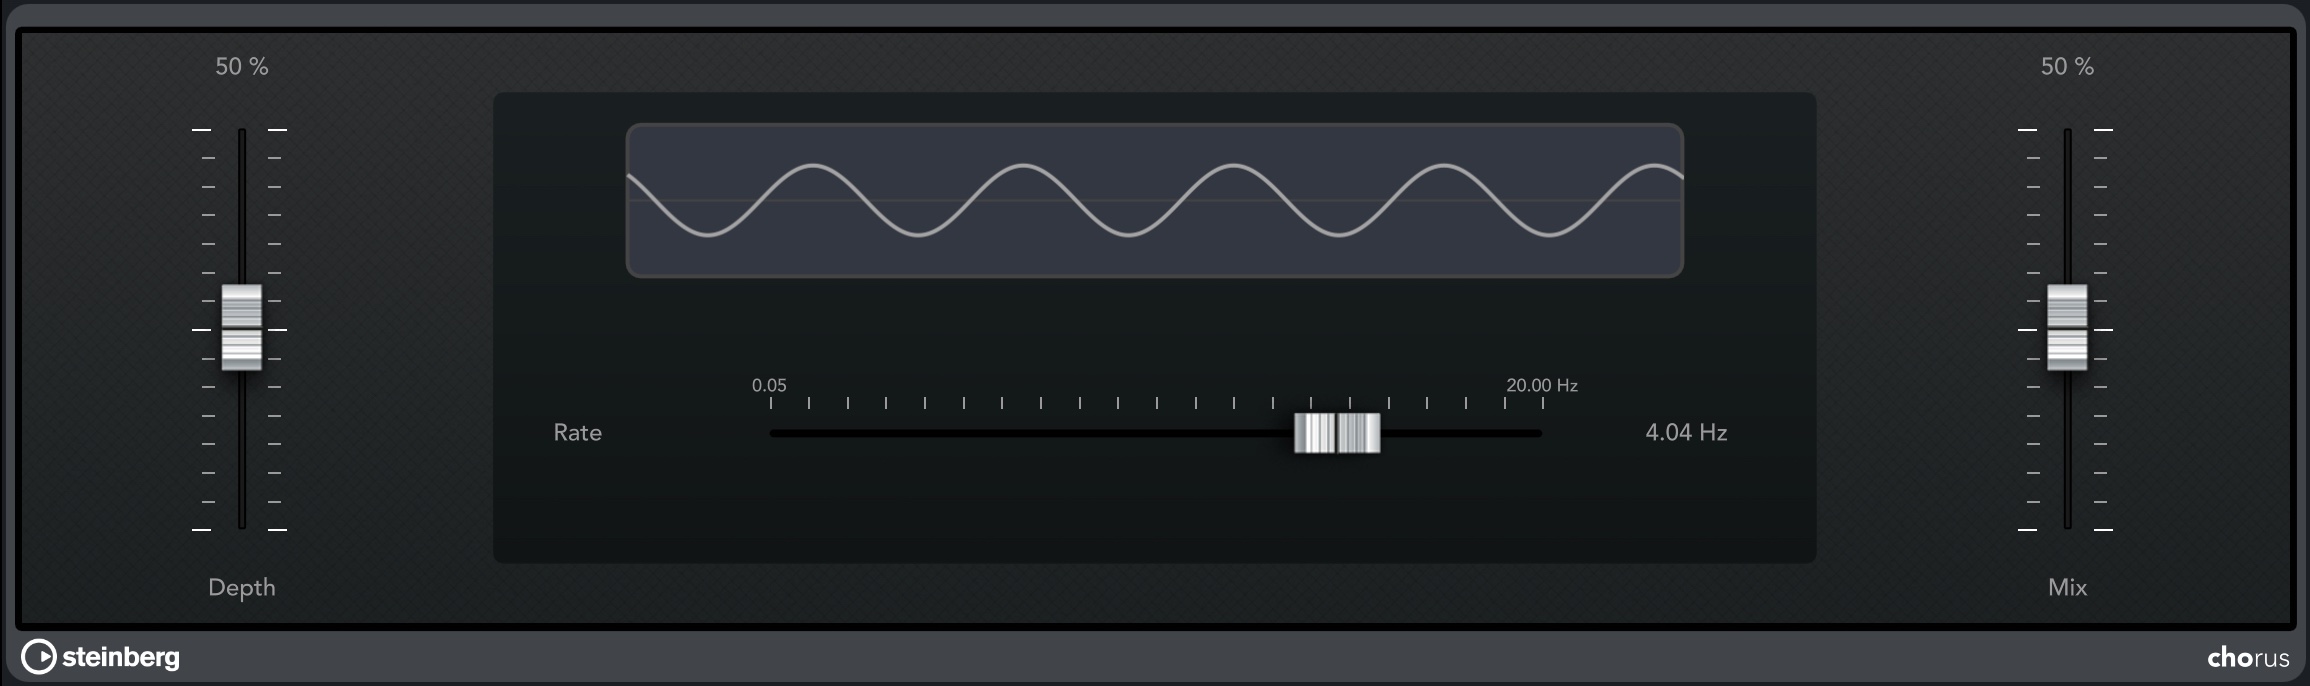
The Chorus effect enriches your sound by having multiple sources playing it (e.g. ensemble) with frequency modulation.
- Depth: The amplitude of the modulation. More depth means a higher pitch discrepancy within your sound.
- Rate: A higher rate increases the modulation speed.
Flanger
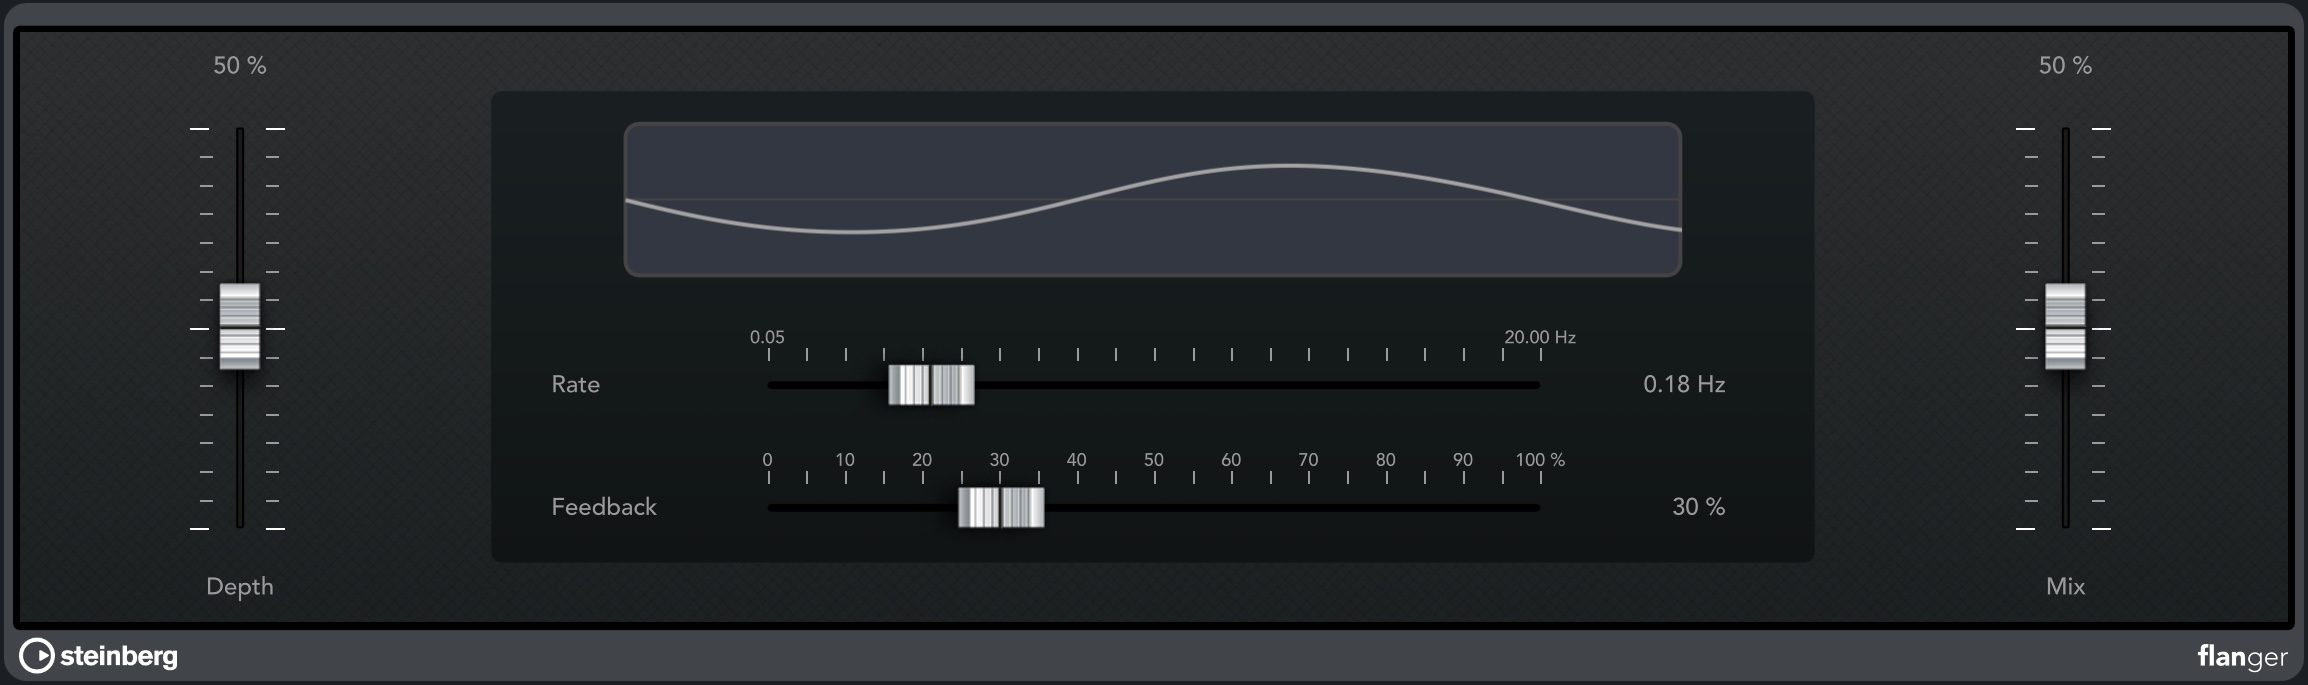
Flanging your sound takes the chorus effect to the next level, creating a metallic sweeping effect.
- Depth: See Chorus.
- Rate: See Chorus.
- Feedback: Feedback controls the intensity of the resulting sweep effect.
Phaser

Similar to the Flanger, the Phaser creates a sweeping effect, sounding even more synthetic and extraterrestrial.
Amp Sim
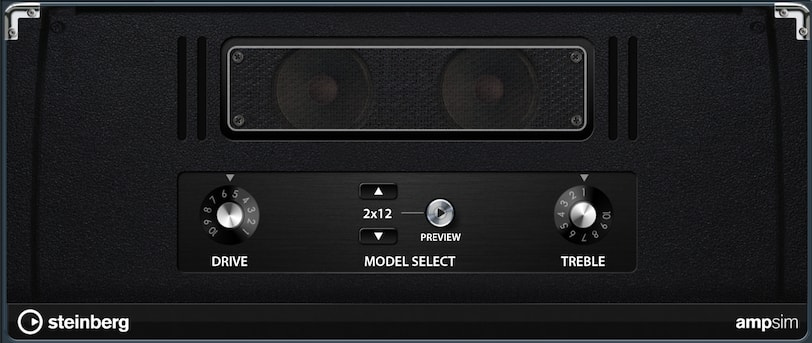
The Amp Simulator digitally emulates a physical amplifier (such as guitar or bass amps). 8 different models are available.
- Drive: Increases the sound level, creating an overdrive effect.
- Treble: Determines the amount of high frequencies.
Overdrive
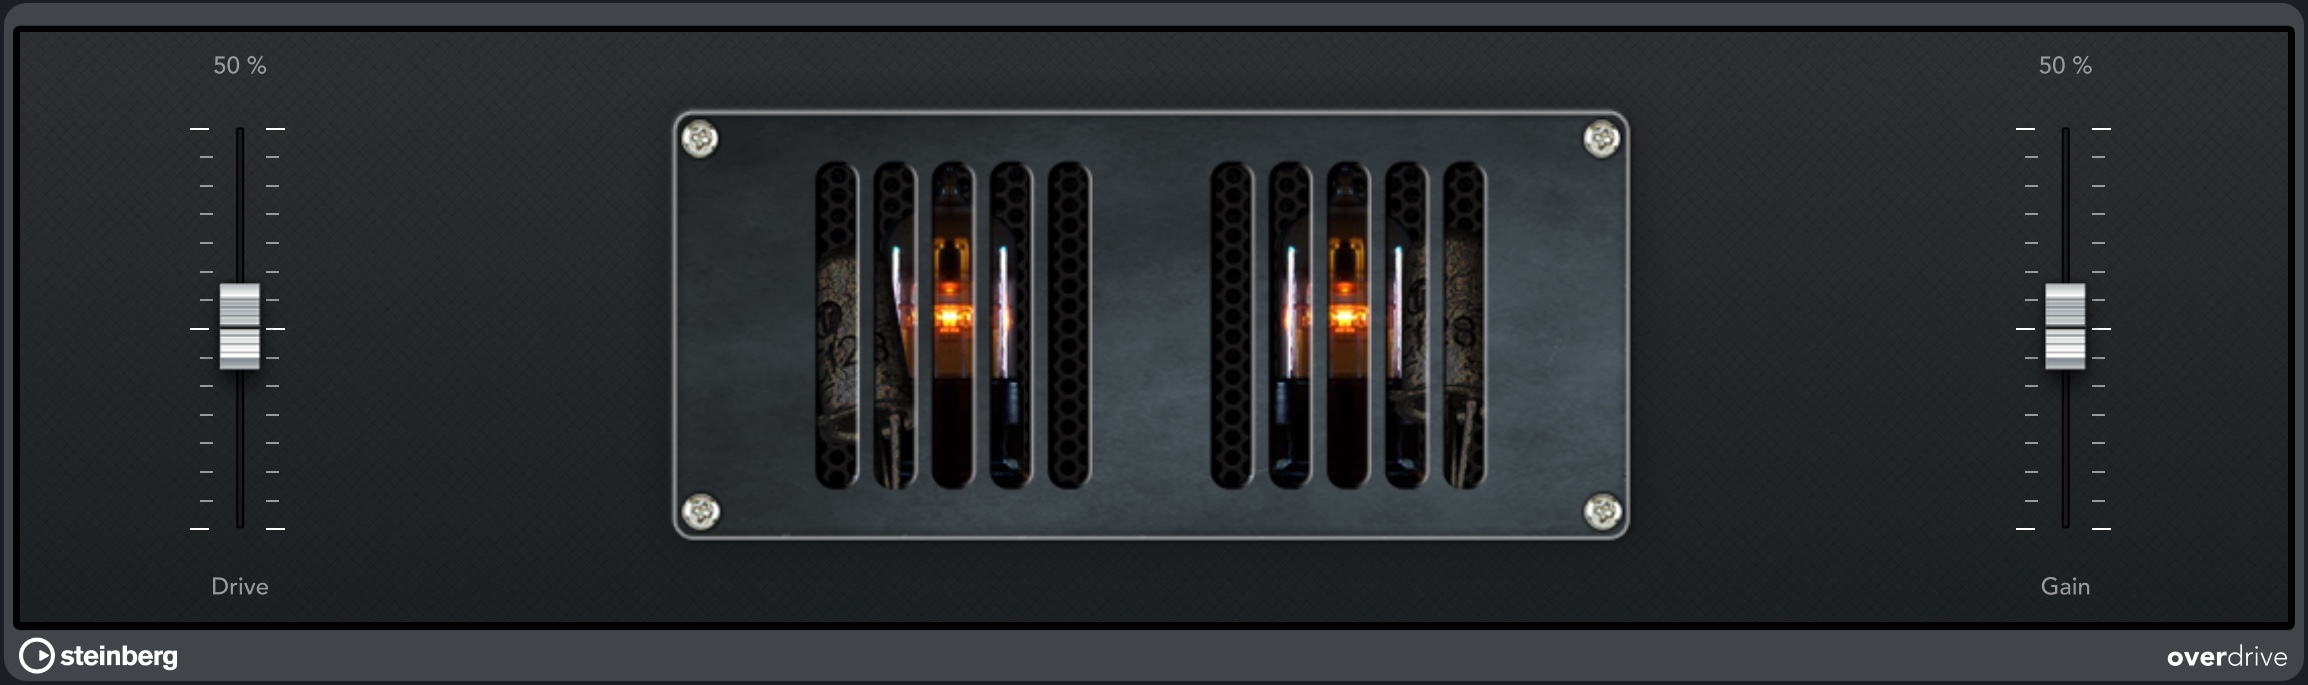
The Overdrive effect adds distortion to your sound by clipping it.
- Drive: Determines the distortion intensity.
- Gain: Controls the resulting volume level.
Phase Inverter
This utility inverts the phase of your track, i.e. it flips the audio signal vertically. It can be useful for detecting phase shifts or other unwanted side effects as a result of stereo recording.